Mastering your website's imagery is crucial for tourism operators. Oversized or poor-quality images can drag your site down. We've got the lowdown on optimizing WordPress images—resizing, picking the right formats, and smart naming. Quick tips to boost your site's speed and appeal, making sure you shine online.
In the digital world we’re living in, how your website looks is everything, especially for tourism operators trying to grab the attention of potential visitors. But here’s the thing, it’s not just about picking stunning images; you need to make sure they’re working for your site, not against it.
A lot of you miss the mark with their images, and it’s a bigger deal than you might think. Having images that are too big can drag down your site’s loading speed and decrease your rankings on Google. And if your images aren’t the right size or look pixelated it’s not a good look for your professionalism.
So, we’re here to break down how to get your WordPress images to level up your site, not weigh it down. We’re talking about resizing, picking the right formats, and naming your images so they make sense. It’s all about making sure your images are ready to shine online, from understanding the difference between dimensions and resolution to choosing the smartest file format. Whether you’re decking out your site with a killer banner or just sprucing up your content with some pics, knowing the right size and format is key to keeping your site looking sharp and loading fast.
Let’s dive into these game-changing tips and tricks, helping you nail your website’s image game and stand out in the busy tourism market. Trust us, it’s easier than you think, and it’ll make a world of difference.
Image issues on tourism websites
Images are way too big: this affects load time and search engine rankings
Images aren’t the right dimensions
Images are pixelated
How to improve your WordPress images
Resizing images before uploading
When we talk about resizing images, we mean optimising the dimensions and resolution of your images prior to uploading them to your site. Whilst image optimisation plugins are available, they are not always installed on your website (e.g. your server many not support it, you might not have a license) so nothing beats forward thinking.
Dimension vs resolution
Dimensions are pixels (width and height): Tools that work well are: preview (Mac), paint (windows). More here
Resolution is level of detail in the image. Tools that work well are: tinypng.com.
Image format simplified
JPG: for images without transparent background
PNG: when you need transparent background
WebP: newer file format for images on the web. Offers up to 34% smaller file size than JPG and PNG. Supports transparency. More here.
Naming your images
Name your images something meaningful before uploading them e.g. 3-bedroom studio.jpg vs DCIM43424.jpg
Get in the habit of adding alt text and caption once you have uploaded your image (directly in the media library)
Process
If required, download the unoptimised images from your website, resize them
Once you understand that the width of a computer monitor is about ~ 1920 px wide and the size of your website container is about ~1200 px, it is easy to visualise the dimension of the images you will need.
You should never upload an image which has bigger dimensions than you will ever need.
What is the right size?
Before you upload your images to WordPress you need to know where you will use them in order to choose the right size.
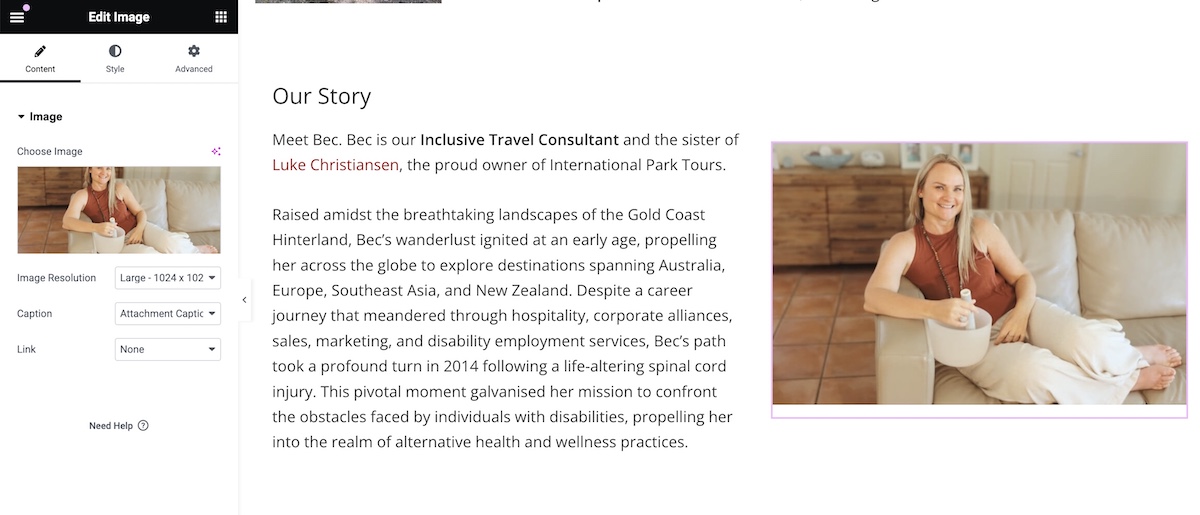
If you intend to use them as a full-width banner (hero) you’ll best resize them at 1920x1080px (16:9 ratio) – same as banner image above).
If you intend to use them as container-width banner (hero) you’ll resize them to 1200 x 720px (16:9 ratio).
If you intend to use them within the content (and not banner) in landscape, upload them at 1200 x 900px (4:3 ratio). in portrait 900px x 1200.
Your feature images need to be 1200 x 900px (same as content image above)
Each image should be a very maximum of 150kb in size, except for the banners that may require to be heavier, up to max 275kb in size
Once you upload your images, WordPress will automatically resize them to 4 sizes (and keeps your full image size as uploaded) as defined in your wp-admin>settings>media. Your web developer may have changed the default sizes.
When you insert the image in your page, select from the best size depending on the location:
Thumbnail: 150×150 px
Medium: 300×300 px
Medium-large: 768×768px max (not visible in the media settings)
Top AI Tools for the Tourism Industry - Free cheatsheet
+ Bonus Cheatsheets & Templates
Opt-out any time, no hard feelings.
Fabienne W
Fabienne Wintle is Chief Digital Strategist and is an advocate for digital self-sufficiency, having empowered thousands of small businesses with the knowledge and tools required to make a living from tourism. Her special blend of digital know-how, tourism knowledge, coaching skills and a natural gift for communication make her a sought-after consultant, workshop facilitator and speaker.
She lives on Australia's Southern Great Barrier Reef in Agnes Water, Queensland where she volunteers her time to help local businesses use the internet.
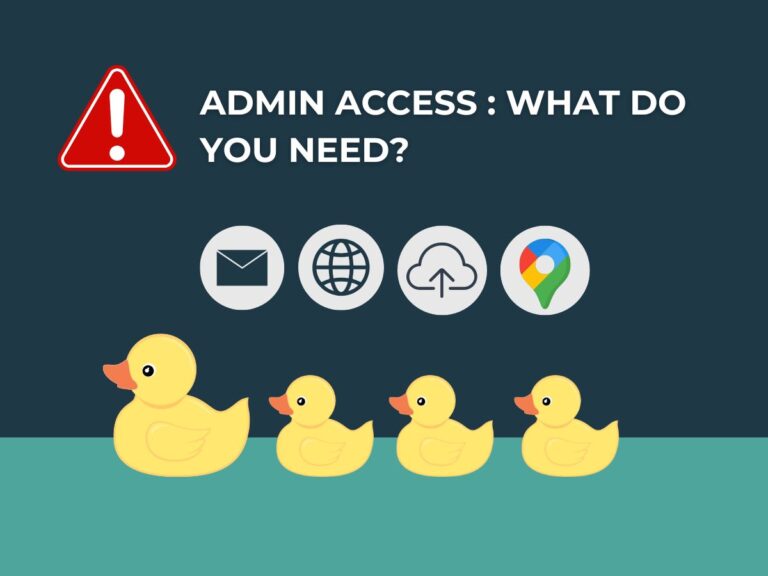
Don’t wait until you’re locked out of your own website, booking system, or social media account. As part of our Tourism Tribe onboarding, we help new members get their digital ducks in a row — ensuring admin access and business continuity across all your digital assets.
Astra Pro and Elementor Pro offer a powerful, customisable website solution that’s easy to manage—no coding required. This guide explains when to use Elementor Pro, such as for consistent layouts, and provides helpful video tutorials to get started and take full control of your site.